One of the most fun things about the holiday season, of course, is gathering with friends and family. Many times those gatherings tend to take over - the planning, cooking, and expense quickly start to multiply. So here is a simple but fun idea for a casual, inexpensive gathering where the point is to relax, catch up with friends and create a cute jar project. You will love the simplicity of this craft party!
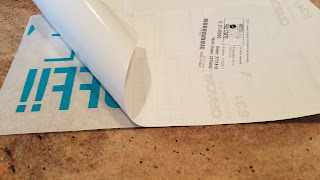
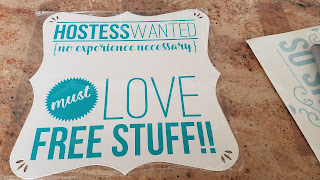
The one thing to remember with this party is that you need to order your Uppercase Living decals at least 3 weeks in advance to make sure they arrive on time. Choose your date, time and party location and invite your guests. Feel free to snag the photos from this post for your emails and texts! Place your decal order; you can choose a variety of colors or ask your guests ahead of time which colors they'd like. Make sure to order a few extra for last minute additions to your party. Don't worry about having too many; you can always use the leftovers to create gifts.
You can also add embellishments, if you'd like. Your local craft store will have tons of choices, but also look through your own supplies for buttons, bling, and other cute additions. Make sure to have plenty of glue on hand if you add them.
Finally, you'll need some jars. The easiest thing to do is purchase them, but this is a great opportunity to reuse glass jars you may already have. You can also ask each guest to bring an empty jar or two. Hooray for recycling and repurposing!!
When your guests arrive, set out some simple snacks and drinks and begin creating. There really is no "right" way to do this project, so there's no pressure! The fun is in mixing colors and patterns to come up with a look that you like.
 Originally, this project was designed to hold ideas for family holiday activities; that's what the scrapbook paper is for. But you can use it different ways:
- Use the paper to write down special memories and read them each Christmas eve.
- Have each guest bring a bag or two of holiday candy and create a perfect mix.
- Turn this into "Mom's Holiday Survival Jar" and add a notepad, pencil, ibuprofen and a tiny bottle of wine
- Make this a service project by filling each jar with a scarf and mittens, then drop them off at a local shelter.
- Fill with cocoa packets and marshmallows and drop off at the fire station.
- Use gift boxes instead of jars and fill with small treats to open each day. You can use the box year after year.

I know you will come up with lots more ideas, so please comment and share them with me. I hope you'll use this opportunity to gather with friends and enjoy an afternoon or evening of laughter and friendship. And that's what the season is really about.
Tip: This design is on special now through November 26, 2017. A set of 2 is only $9.95. Get it now and save a little money!
Tip: This design is on special now through November 26, 2017. A set of 2 is only $9.95. Get it now and save a little money!


